The pickAtime system allows you to customize many of the display settings that your parents will see when booking appointments. There are two settings that it is imperative that you check before opening the site up to your parents. With the PTA product when parents log in to schedule appointments, they are prompted to enter in a StudentID and a SecurityValue. Depending on what your school has chosen to use in these fields you may need to modify the default display settings. For example, the default setting is to ask a parent to enter in a SecurityValue in the format mm/dd/yy. If your school has imported data other than a birthdate for the SecurityValue or in a different birthdate format than the example, then you will need to change the Customer User Interface page to prompt the parent to enter the SecurityValue in the correct format.
To modify the CUI messages:
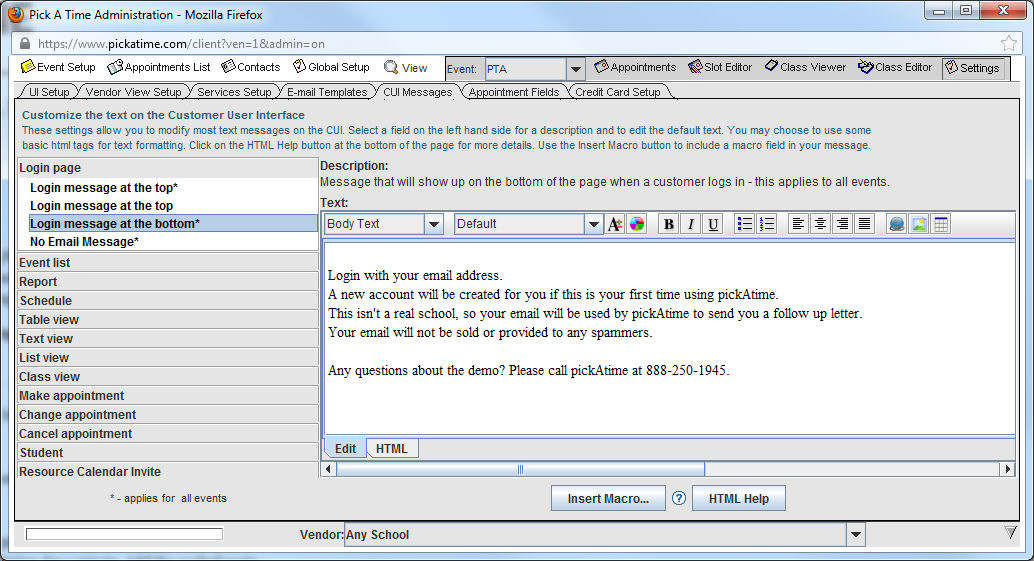
Select the Settings tab on the upper right hand side of the Admin UI page.
Select the CUI messages tab. On the left hand side you see many different labels that you can optionally modify.
Select the Student and then the StudentID label. You will then see text displayed in the right hand side. This text shows the text that your parents will see when they use the system to schedule an appointment. To modify the text simply do so by entering in the text you would like displayed in the right hand side. If you are using a concatenated version of the First Name + Last Name for the studentID, then enter in text here explaining this. For example, you could enter in First Name + Last Name (ex. BenFranklin).
Select the Student and then the SecurityValue label. For example, if your school birthdate data was in the format mm-dd-yy, then you would want to change the text example to "(e.g. 01-21-95). Please provide a specific example to your parents as to how to enter in the birthdate.
You can select any of the other labels on the left hand side. The right hand side will display the text that will show up on the CUI. The text on any of these labels can be changed.
See the CUI Messages page in the Reference section for details on all the labels.
You are now ready to turn on your event.