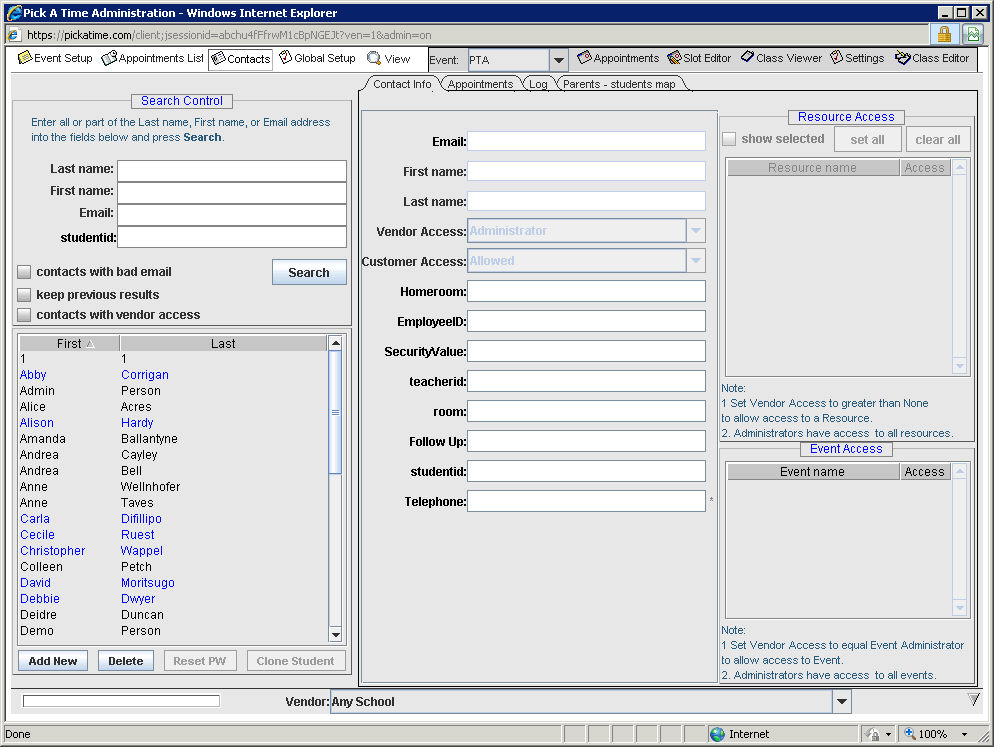
On the Contacts tab, you can search for a contact, select the contact, and then view the information about that contact. Your contacts are your list of teachers, administrators, students, and parents. As soon as a parent logs into the online scheduler their contact information will be stored in the contacts section.
From the Admin UI, select the Contacts tab on the top line of the screen
Note that student and parent names do not automatically display in the contacts section. You need to search by either first or last name to find your students and parents.
After you search you can select a contact and the system will fill in the fields on the right with the contact's information. There are several tabs on the right.
The Search Control list will allow you to search by Last name, First name, Email address and any other fields that you identify as an ID field in the Contacts Setup tab on the Global Setup page.
The Contact Info tab will display the contact's Email, First name, Last name, vendor access and customer access rights, as well as any fields you may have included from the Contacts Setup tab on the Global Setup page.
You would change the Vendor Access pull-down to allow your school administrators to have a specific access type in the system. Teachers who have been imported to your account will automatically be given "Appointment Viewer" access.
You would set Customer Access to "not allowed" if you wanted to prevent a parent from logging in to the CUI and making an appointment. Note, that this does not prevent the parent from creating a new account with a different email address.
The Resource Access section is used to grant contacts that have vendor access rights access to certain resources. Teachers who have been imported in your account will automatically be given "Appointment Viewer" access to their own schedule. Contacts with "Administrator" privileges can access all the resources (teachers).
The Appointments tab, not to be confused with the main Appointments tab on the top line, shows all the selected contact's appointments. For students, this will display the classes they are enrolled in.
The Log tab shows what emails have been sent and when appointments were booked or cancelled.
The Parents - students map tab allows you to view, create, and change the set of students that each parent has. See Parent - Student Relationships for more details.
Once you have selected a contact you will also have the option to reset the password for a contact. The Reset PW button will reset the password to the stored default password that is set on your account. To view or change this default password see the Global Setup / Contacts Setup page.
To add a new contact, select the Add New button on the bottom left hand side and then fill in the fields in the middle section where you see the text <not entered> . If you receive an error message stating that you have created a contact with the same email address as an existing contact, you will want to delete this new contact record. The contact created in error will be flagged in red.