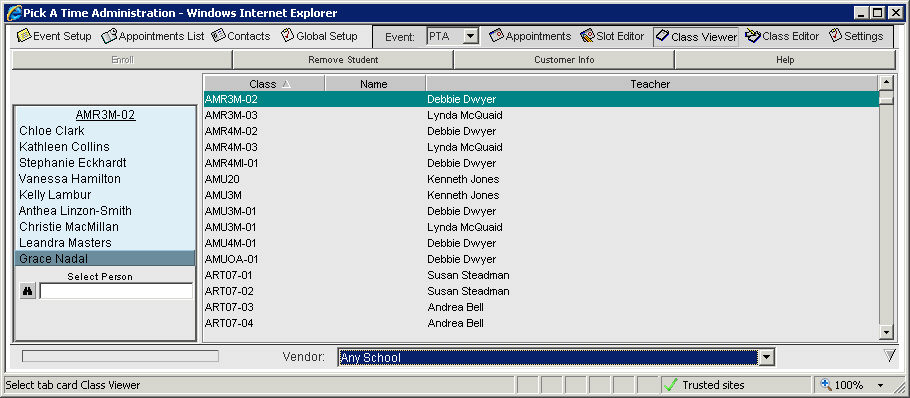
From the Admin UI, select the Class Viewer tab.
Select a class and on the left will be a blue section where the students who are enrolled in that class will be listed.
To remove a student, select the student and select Remove Student. This only removes the student from the class not from your account.
To enroll a student, select the Enroll Student button. You will see the binocular icon and a white box at the bottom of your roster of students. If your student has already been imported or added to your account, you can start typing the name of the student in the empty white box. The system will fill in the name if it finds a match. Press enter to confirm and add the student to the roster. If you need to add a new student, select the binocular icon. The select person dialog box will pop up. Select the Add New button and fill in the right hand side (where you see <not entered>) with the correct values for the new student. Then press the select button.