The pickAtime system allows you to modify many of the display settings that your customers will see when booking appointments.
Select the Settings button on the upper right hand side
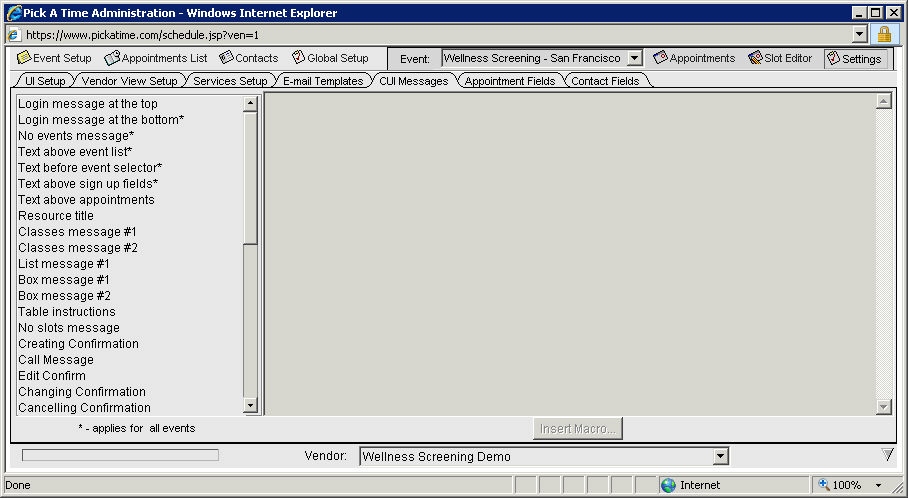
Select the CUI Messages tab
You can select any of the other labels on the left hand side. The right hand side will display the text that will show up on the CUI. The text on any of these labels can be changed.
Macros can be placed in the text and the system will replace the macro with the corresponding text. For example "You are scheduling an appointment with <b>$(V_NAME) $(R_NAME)</b>, at <b>$(TIME) on $(D_SHORT)</b>,<br> for the <b>$(E_NAME)</b> event." is an example of the message that will be displayed on the appointment confirmation page. The "$(V_NAME)" macro will be replaced with your vendor account name when the system sends the page to the customer's browser.
Some of the macros you may want to use:
V_NAME Vendor Name
R_NAME Resource Name
E_NAME Event Name
TIME Time of Appointment
D_SHORT Date of Appointment (in short format)
LOCATION Location of Appointment (entered in the Event Setup section)
A complete list of the macros can be found by selecting the Insert Macro button at the bottom of the page. If you would like further assistance with the use of macros please contact the pickAtime staff at 888-250-1945 or email support at support@pickatime.com.
You may also want to add a message at the top of the customer sign-in page. You would do so by selecting the string Login message at the top. Here you might add something such as “Health Screening Registration.”
You are now ready to turn on your event.