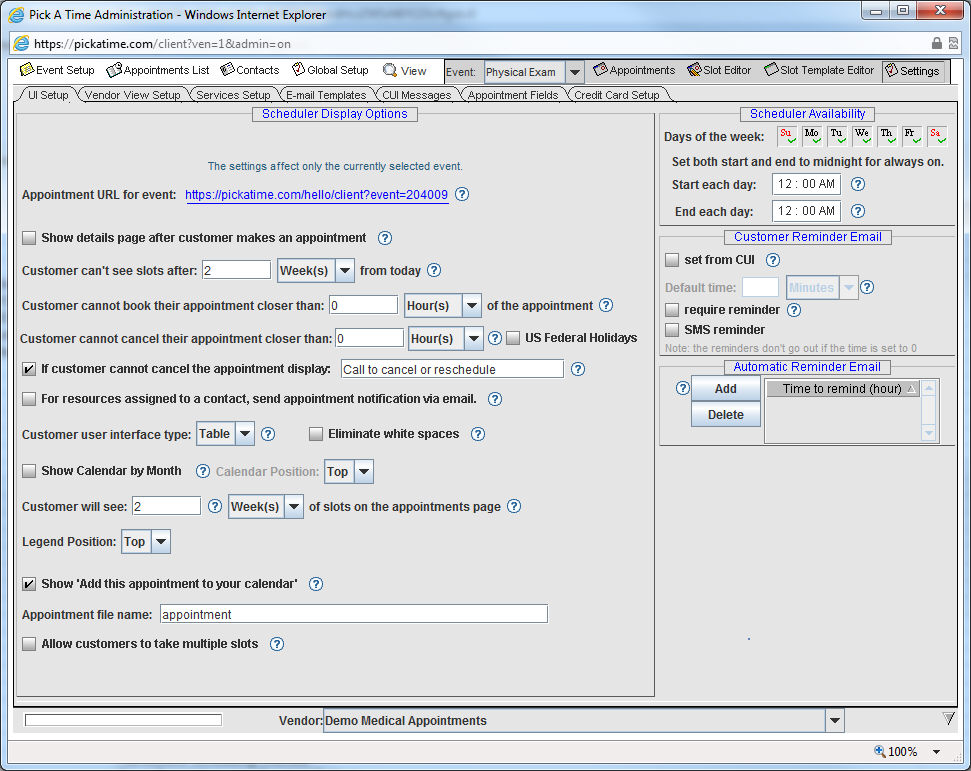
Select the Settings tab located on the far right hand side of the Admin UI.
Then select the UI Setup tab. To turn on the appointments so customers can use the website and schedule appointments, modify the dates and times in the Internet Appointment Availability section. If you would like the CUI to always be on then leave the start and end time set to midnight. If you would like it to be available only during certain times of the day then adjust the dates and time to your specific requirements.
At the top of the UI Setup page you will see the URL for the selected event. Each event on an account has a unique event number which can be included in the URL to take the parent directly to that event.
If you only have one event on your account, then you should use the URL for the entire account. This URL is found on the Global Setup / Business Setup page and is listed under the Appointment URL for customer.
Once you have opened up the site you should try it out as if you were a customer.